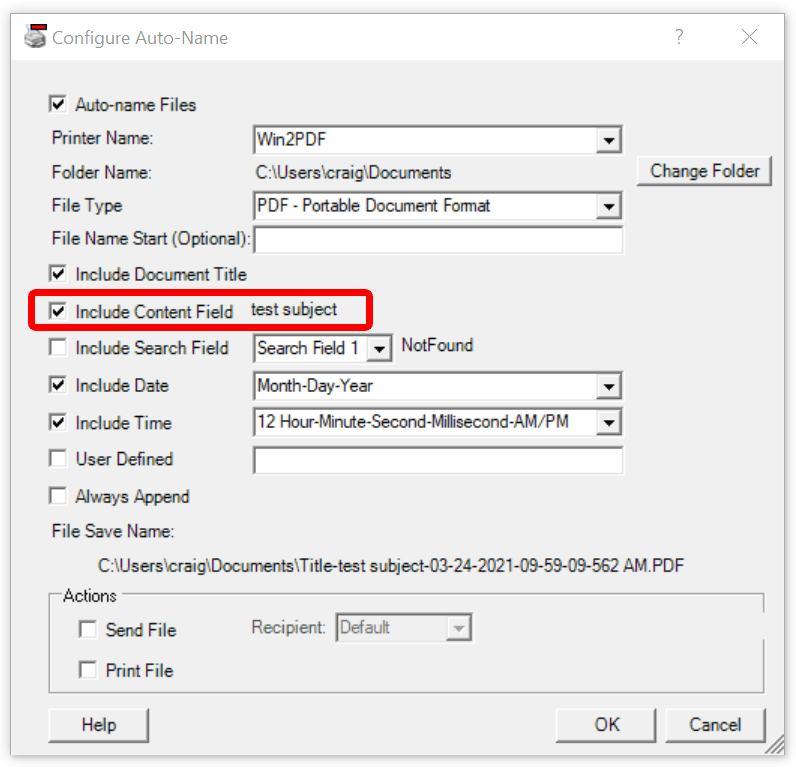
When the "Auto-name Files" option is enabled, you can add a previously defined content field to the file name by checking the "Include Content Field" option.

Win2PDF Desktop Configure Auto-Name: Include Content Field
To define a content field, first open a representative PDF in the Win2PDF Desktop app. The content field is defined by selecting "Define Auto-Name Content Field" from the "Auto-Name" menu, and dragging a rectangle around the content in the open PDF document. If text is found in the rectangle defined by the content field, it will be displayed as sample text after the "Include Content Field" item. If the content field hasn't been defined, the sample text will say "Not defined".
The "Sample File Name" listed at the bottom of the window is updated to show the resulting file name based on the options selected using the sample text from content field. This option can be combined with any of the other auto-name options.
The following screen cast shows how this can be defined.
How to set the Content Name Field using Win2PDF's Auto-Name feature
If the text in the PDF file is not searchable, you can download and install the optional "Win2PDF OCR Add-on" from:
https://www.win2pdf.com/download/download-win2pdf-ocr.html
You should make the PDF searchable before defining the content field, and you should select "OCR PDF" as the file type in the auto-name settings.